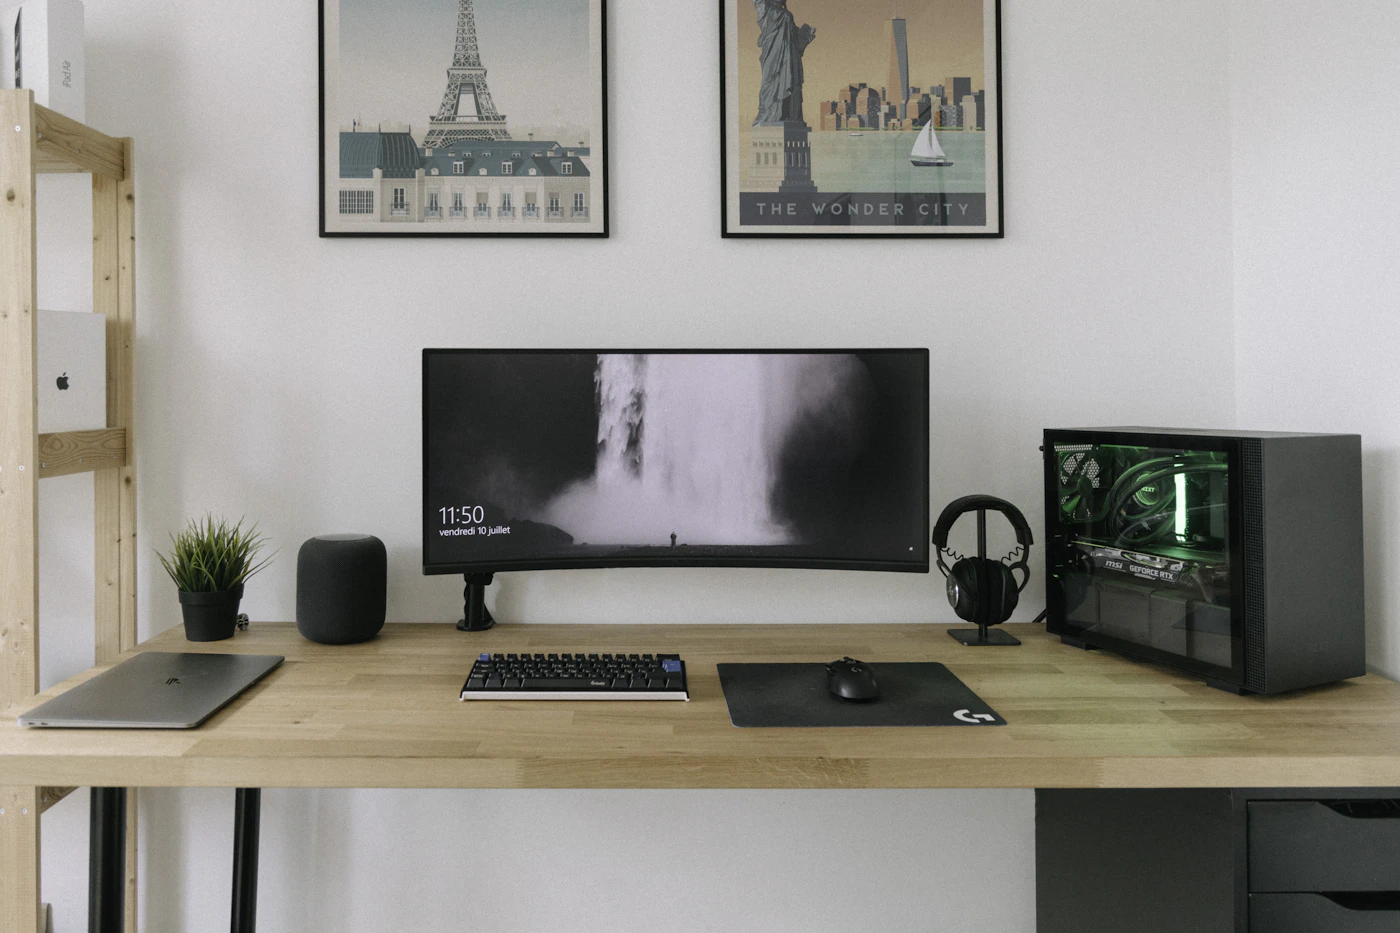
A perfectly tidy desk photograph often hides a practical problem: every cable is fixed so tightly that moving the laptop becomes a project. Good cable management should make the desk easier to use, clean, and change. The goal is a functional arrangement, with the leads you need within reach and the ones you do not need out of the way.
Imagine a dining-table workstation that must be packed away each evening. Adhesive clips and a permanent cable tray may be the wrong starting point. Now imagine a home office with a monitor and printer that never move. That setup can justify a more permanent route. The same accessory should not be prescribed for both.
Make a cable map before buying anything
Unplug equipment according to its instructions, then list the cables and their destinations. Separate permanent connections from daily removable ones. A monitor power lead is usually permanent; a laptop host cable, phone charger, and occasional storage drive need accessible endpoints.
Label both ends of any cable that is hard to recognize. Include function, not merely connector shape: laptop power, monitor video, or backup drive. Two USB-C cables can serve different purposes, and a label prevents you from replacing a monitor cable with a charging-only one during a quick cleanup.
Remove unused adapters from the desk. Keep them in an identified drawer or organizer instead of leaving them connected in case they become useful. This first pass costs nothing and often creates more usable space than a large set of matching clips.
Arrange the equipment first
Place the monitor, laptop, keyboard, and mouse where they support your normal work. Only then route cables. Moving a device to suit an arbitrary cable path reverses the purpose of the project. Check that the camera points in a useful direction and that a notebook or glass has an obvious place to sit.
Consider where the laptop leaves the desk. If it goes into a bag each morning, its power and accessory connections should be reachable without bending under the table. Put the dock or hub where its host cable can be disconnected easily while the permanent connections stay in place.
A Belkin USB-C 7-in-1 hub is one example of consolidating compatible connections, but a hub is not inherently a cable-management necessity. Check that it supplies the actual ports and display support you need. Reducing visible cables is not helpful if the new connection is unreliable or incomplete.
Route in small, serviceable groups
Take cables toward the rear or side of the desk, leaving enough slack for their devices to move normally. Use removable hook-and-loop ties for groups you expect to change. A tightly bound permanent bundle may look neat but complicates replacing one failed cable.
Avoid sharp bends, tension at sockets, and pinching behind furniture. Follow the cable and device instructions. A monitor on an adjustable arm needs extra movement allowance, including when it turns or rises. Test the full motion before securing the route.
Keep the endpoint of a daily charging cable reachable with a suitable clip if necessary. Check the clip’s opening against cable thickness and connector size. A clip that holds the cable but allows its plug to disappear behind the desk has not solved the problem.
Choose attachments for the desk material
Adhesive clips can be convenient, but surfaces and finishes differ. Check product instructions and consider a discreet test area where appropriate. On a rented desk or delicate finish, removable or clamp-based solutions may be preferable. Do not assume a strong adhesive will come away without affecting the surface.
A cable tray needs adequate mounting space and a suitable desktop. Measure the tray against the power adapter and plug dimensions, not just against the number of sockets. Large bricks can obstruct adjacent outlets and require more room than slim plug heads.
If equipment uses a power strip or surge protector, follow its installation instructions and electrical ratings. Keep plugs accessible, avoid covering adapters where ventilation is required, and do not create a chain of extension devices. Tidiness should not make routine inspection or disconnection harder.
Separate the travel kit from the fixed desk
When a laptop moves regularly, keep a small travel pouch for the charger, useful cable, and any essential adapter. Taking every cable off the desk each time makes the permanent setup less valuable. On the other hand, buying duplicates of every accessory is unnecessary if travel is occasional.
Belkin’s Tech Travel Organizer support page shows the kind of dedicated compartments and cable straps available in an organizer. Compare the space with your actual equipment. An ordinary pouch may be enough; an organized bag is useful when it helps you see whether something is missing.
Do a departure check based on functions: charge laptop, charge phone, connect presentation display. This is more reliable than counting cables whose purposes are unclear. Return each item to the same compartment when unpacking so the routine remains simple.
Make maintenance easy
Leave a way to add one future cable without rebuilding the whole desk. Keep labels readable and store surplus length in loose, accessible loops where appropriate. Do not bury the backup drive behind the monitor if you need to disconnect and put it away after use.
Photograph the working route after organizing it. The photograph is a useful reference when cleaning or replacing a device, especially in a shared household. Add a short note identifying any cable that has special power or display capability.
What is worth buying?
Start with removable ties and only the clips needed to hold frequently used endpoints. Add a tray when permanent power connections need a home. Buy a hub or dock when it solves port or connection problems as well as clutter. Skip a large accessory bundle unless you can identify a job for its contents.
Test the arrangement by moving the laptop, adjusting the monitor, and packing for a normal day. If any action pulls a connector or requires dismantling the desk, revise the route. For connection planning, read USB-C hub versus dock. For cables and power in a bag, see our travel charger guide.
EXPLORE THE OPTIONS
Products worth a closer look
Compare the current specifications, local availability, and returns policy before deciding.
Belkin USB-C 7-in-1 Multiport Hub (AVC009 V2)
Best fit: One-display workspaces with occasional accessories; Laptop users who need camera card access.
Why consider it: Combines several useful connections in a portable accessory; Card slots reduce the need for a separate reader.
The tradeoff: Laptop video and power compatibility still need verification; Pass-through charging needs an appropriate power supply; Older AVC009 revisions may have different specifications.
Sources & editorial notes
Manufacturer information checked on October 4, 2026. Features can vary by model and country. Confirm the exact version before purchasing. Lifestyle photos illustrate the setting; they do not document product testing.
Read our editorial policy